Ok so IBX can be a wee bit confusing at first, yes? It doesn’t need to be. Here’s why.
There are possible 3 layers, we’ll call them 1, 2 and 3. You don’t always do all three layers (I’ll explain which ones to do and when to do them in a minute) but you always do them in that order.
Every single layer follows the same process – Apply, Heat, Blot, Cure, Cleanse. The times for each step do change with each layer so I’ll explain that in a minute too.
So let’s look at the layers –
Layer One
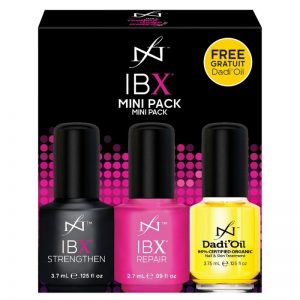
- Apply: IBX Repair
- Heat: 1 minute
- Blot
- Cure
- Cleanse
When should I do Layer One? Ask the question – “Is there any visible damage?”. If the answer is yes, complete Layer One.
Layer Two
- Apply: Regular IBX
- Heat: 4 minutes
- Blot
- Cure
- Cleanse
When should I do Layer Two? Ask the question – “Is this the first time they have had IBX?”. If the answer is yes, complete Layer Two.
Layer Three
- Apply: Regular IBX
- Heat: 2 minutes
- Blot
- Cure
- Cleanse
When should I do Layer Three? Ask the question – “Is the client alive?”. If the answer is yes, complete Layer Three – we’re only half kidding – what we mean is, you complete Layer Three every time.
One last tip – there is no cure time for IBX because you cure it for however long you would cure Gel Polish in the lamp you have. So it changes depending on the equipment you work with.
If you need further help, go and ask a question on our Pro-Only Facebook group and we’ll get back to you ASAP!
Click here to get a FREE Video Lesson from our course ‘The Art of Pigments‘ and be the first to get the latest news from Monaco!